
Hair Protein Treatment at Home: A Simple Step-by-Step Guide
If your hair feels weak, stretchy, or breaks more than it used to, you are not imagining it. Hair that has been through color, heat styling, or everyday wear can lose some of the protein that gives it structure.
A hair protein treatment at home may help improve the feel and strength of certain types of damaged hair. It is not a fix for every hair concern, and it is not suitable for everyone. In this guide, you will learn what a protein treatment actually does, how to tell if your hair might benefit from one, how to do a protein treatment for hair at home step by step, and what to avoid so you do not overdo it.
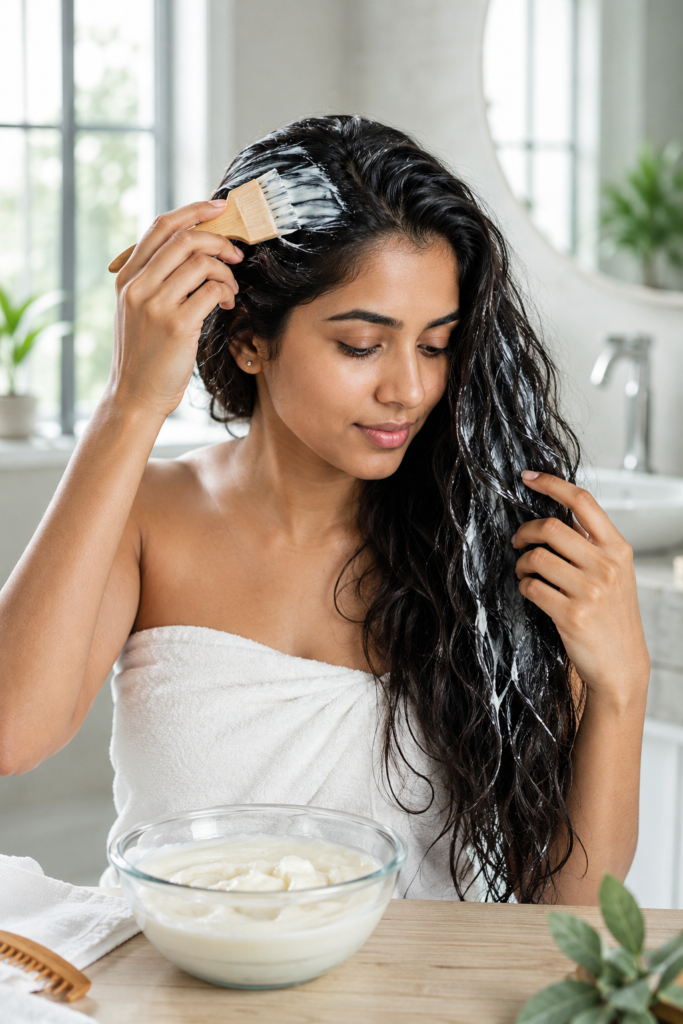
What Is a Hair Protein Treatment?
Hair is made mostly of a protein called keratin. This protein forms the structure of each strand, similar to how a scaffold holds a building together.
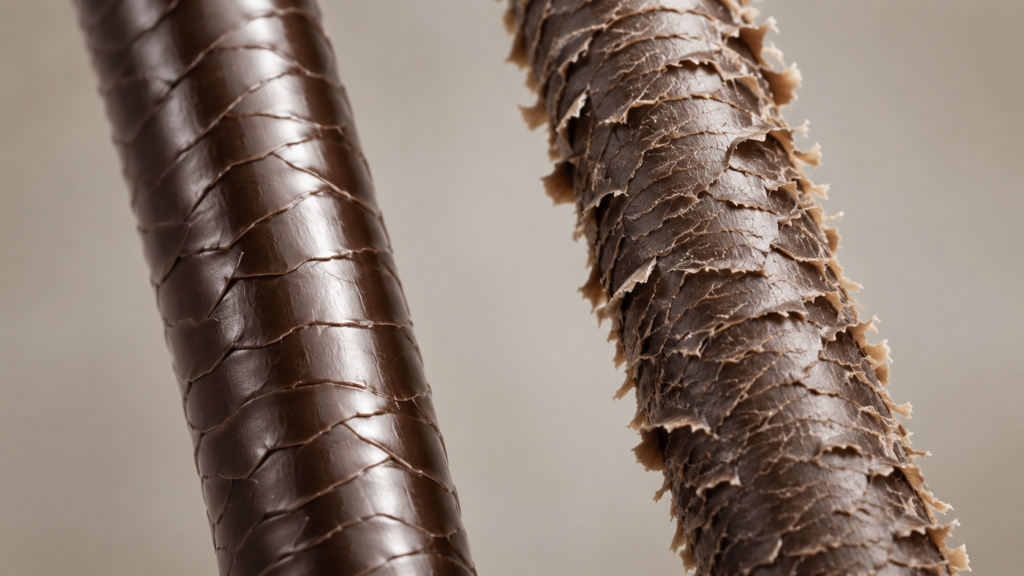
When hair goes through repeated heat styling, coloring, bleaching, or sun exposure, tiny gaps can form along the outer layer of the strand, known as the cuticle. This is often what makes hair feel rough, look dull, or break more easily.
A protein treatment for hair works by temporarily filling in some of these gaps. This can make hair feel smoother, stronger, and easier to manage for a period of time. It is important to understand that this is a cosmetic improvement, not a permanent repair. The treated hair still carries its existing damage. The treatment simply changes how that damaged hair looks and feels until it grows out or is cut.
Signs Your Hair May Need a Protein Treatment
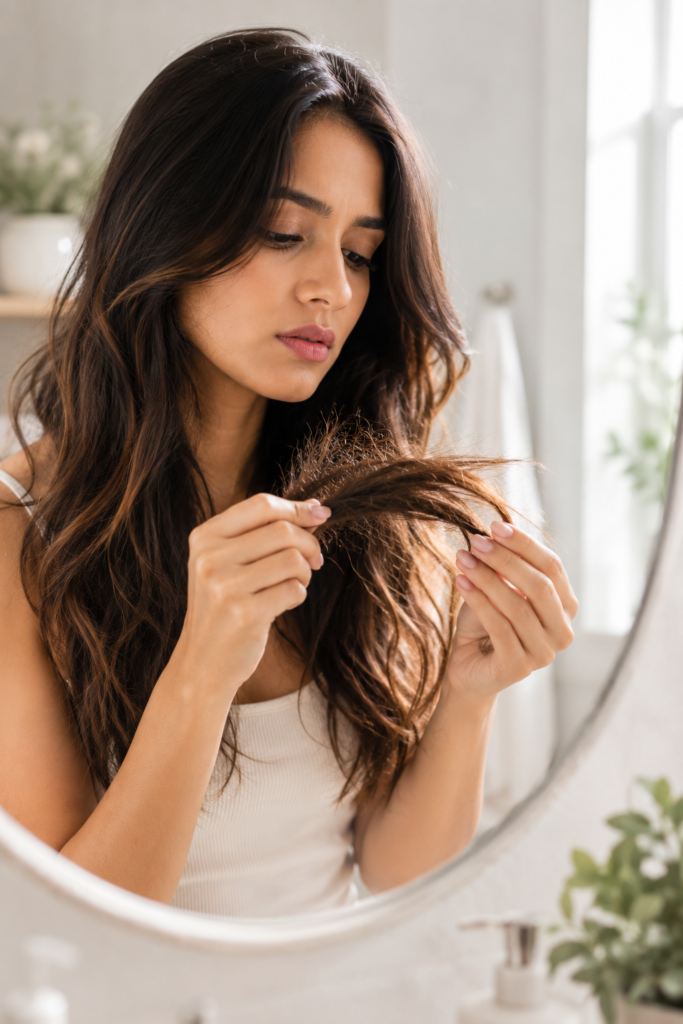
Certain patterns can point toward protein loss, though these signs can also have other causes. Here is what to look for:
- Hair feels unusually soft or “mushy” when wet, with little bounce back
- Increased breakage, especially snapping rather than gradual shedding
- Hair that stretches a lot when wet and does not return to its original length
- Damage concentrated after chemical processing, such as coloring or bleaching
- Hair that feels difficult to style or hold a shape
If you notice several of these signs together, it may be worth trying a protein treatment for hair at home. That said, these symptoms can also come from dryness, product buildup, or other factors, so it helps to consider your recent hair-care routine before assuming protein is the missing piece.
Who Should Try a Hair Protein Treatment?
A protein treatment tends to be more useful for certain hair situations, including:
- Chemically treated hair, such as color, bleach, or relaxers
- Bleached or heavily highlighted hair
- Hair with regular heat styling exposure
- Hair that feels overly elastic or weak when wet
On the other hand, some people should be more cautious with protein treatments. If your hair already feels stiff, coarse, or brittle, adding more protein can make this worse rather than better. Fine, low-porosity hair, or hair that has not had recent chemical or heat damage, may not need frequent protein treatments at all. When in doubt, start with a small section of hair as a test before treating your whole head.
Hair Protein Treatment at Home: What You Need
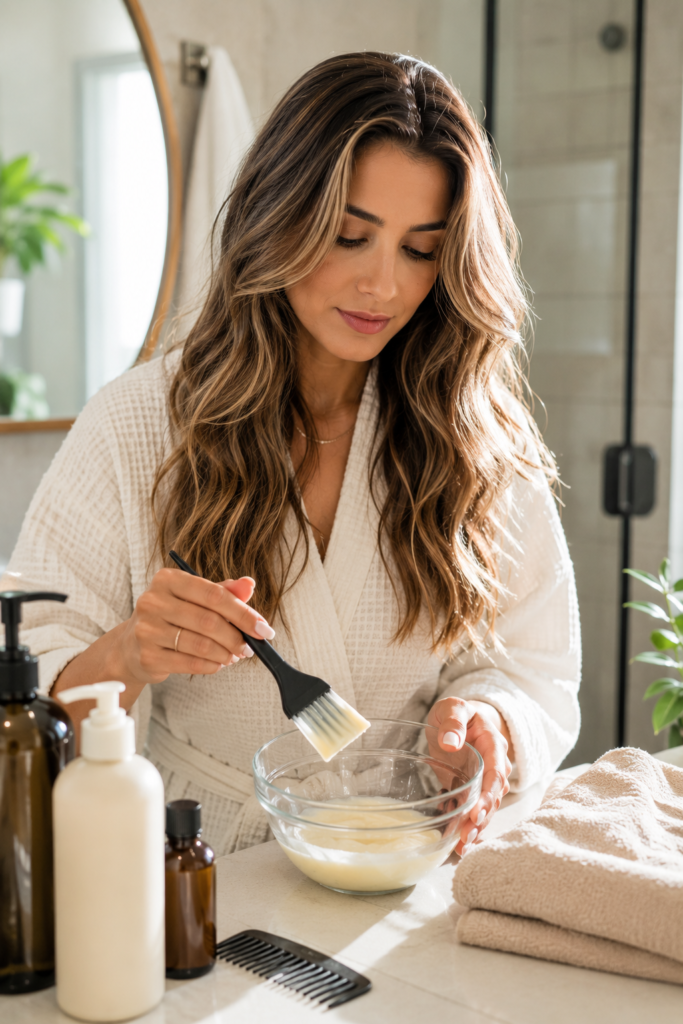
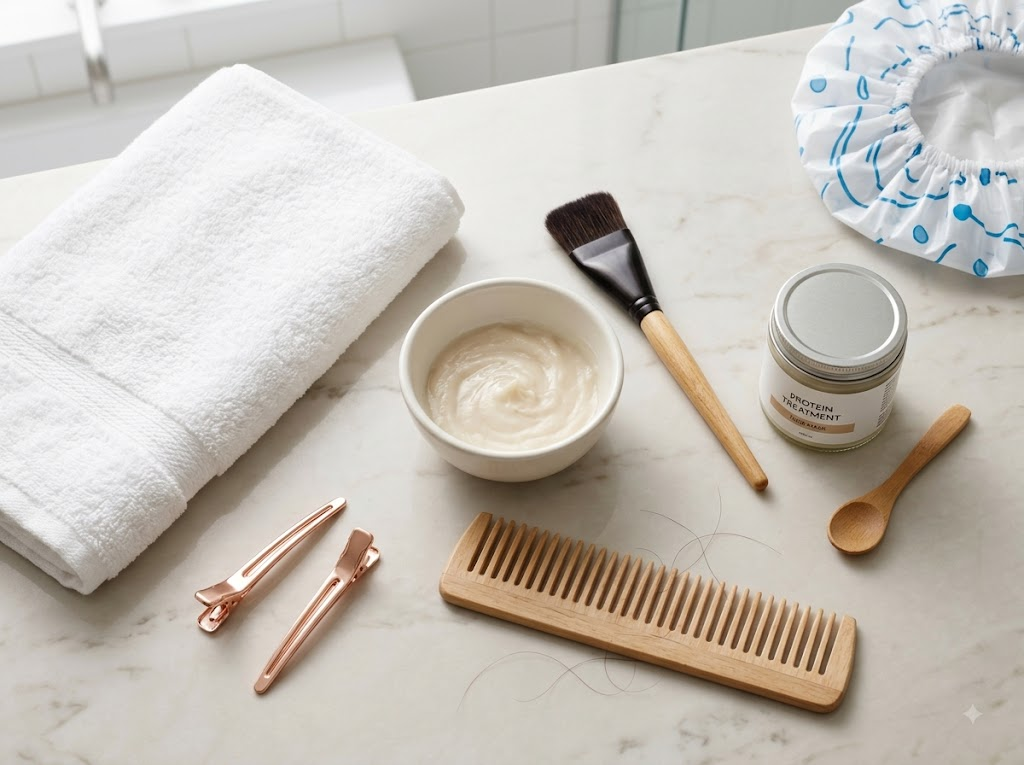
Before you start, gather a few basic tools. Having everything ready makes the application smoother and helps you avoid rushing.
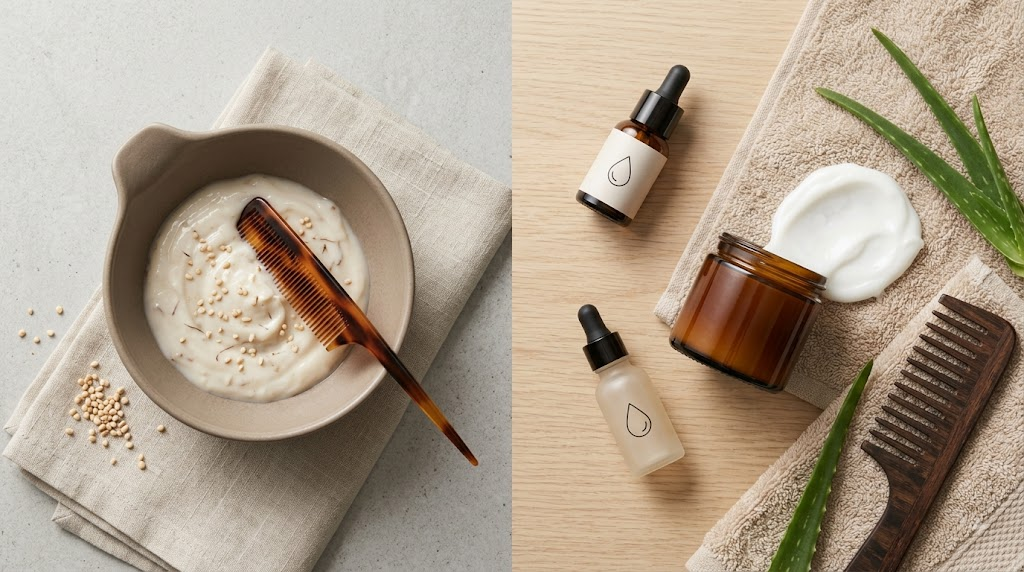
- A store-bought protein treatment or protein-rich hair mask
- Suitable DIY ingredients, if you plan to make your own mixture
- A mixing bowl
- An applicator brush
- A wide-tooth comb
- A shower cap
- A clean towel
It is worth noting that commercial protein treatments are generally formulated with tested, consistent protein levels. Homemade mixtures can vary in strength and results from batch to batch, so they are better suited to occasional use rather than a strict routine.
How to Do a Hair Protein Treatment at Home
This is the core process for how to do a protein treatment at home. Follow these steps in order, and always check your specific product’s instructions alongside this general guide.
Step 1 — Wash Your Hair
Starting with clean hair is generally preferable, since product buildup, oil, and dirt can prevent the treatment from working evenly across your strands.
Step 2 — Remove Excess Water
Gently towel-dry your hair so it is damp rather than dripping wet. Some products are designed for damp hair, so check your product’s label for specific guidance.
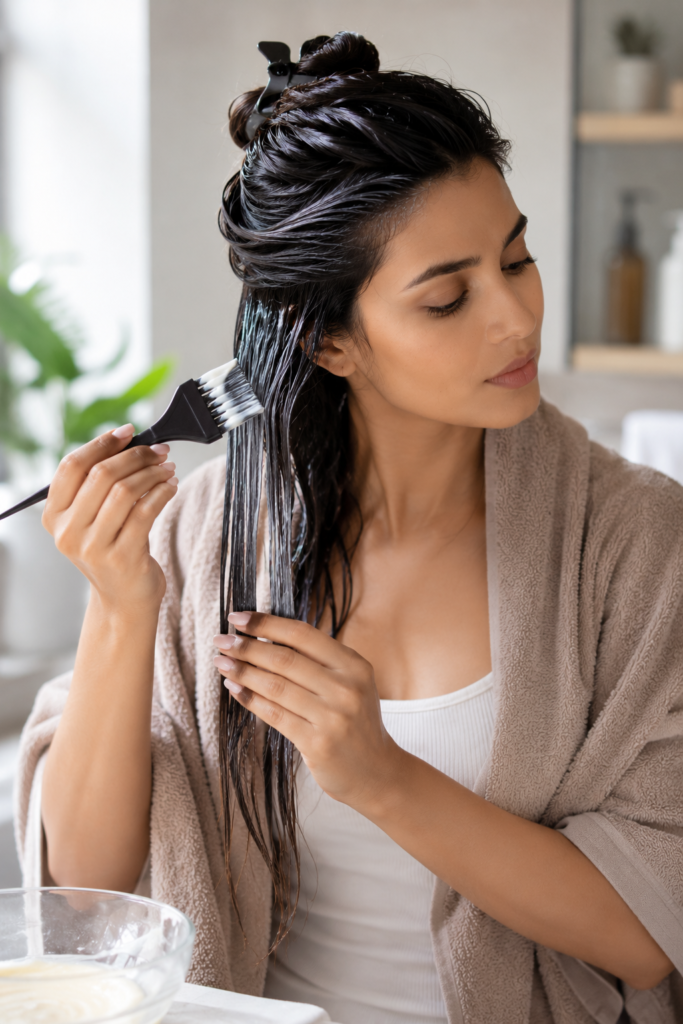
Step 3 — Apply the Protein Treatment
Divide your hair into a few sections for easier, more even coverage. Apply the treatment starting from the mid-lengths and working toward the ends, since this is usually where damage is most concentrated.
Step 4 — Comb Through Gently
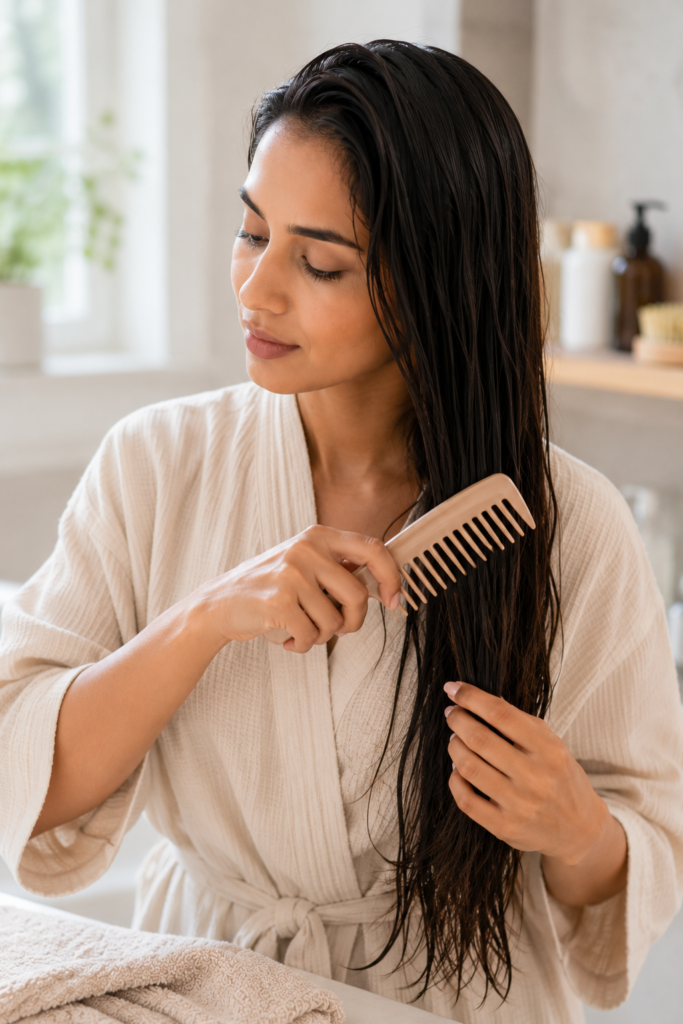
Use a wide-tooth comb to distribute the product through each section. Work slowly and avoid pulling, especially if your hair already feels fragile or prone to breakage.
Step 5 — Cover the Hair
A shower cap can help keep the treatment in place and may support the product’s effectiveness, depending on the formula. Follow your specific product’s instructions on whether this step is recommended.
Step 6 — Leave It on for the Recommended Time
There is no single universal timing that works for every treatment. Processing times vary widely between products and DIY recipes, so always follow the specific instructions for what you are using rather than guessing.
Step 7 — Rinse Thoroughly
Rinse with lukewarm to cool water, using your fingers to gently work through your hair. Avoid rough scrubbing, which can add unnecessary stress to already weakened strands.
Step 8 — Follow With Conditioner if Needed
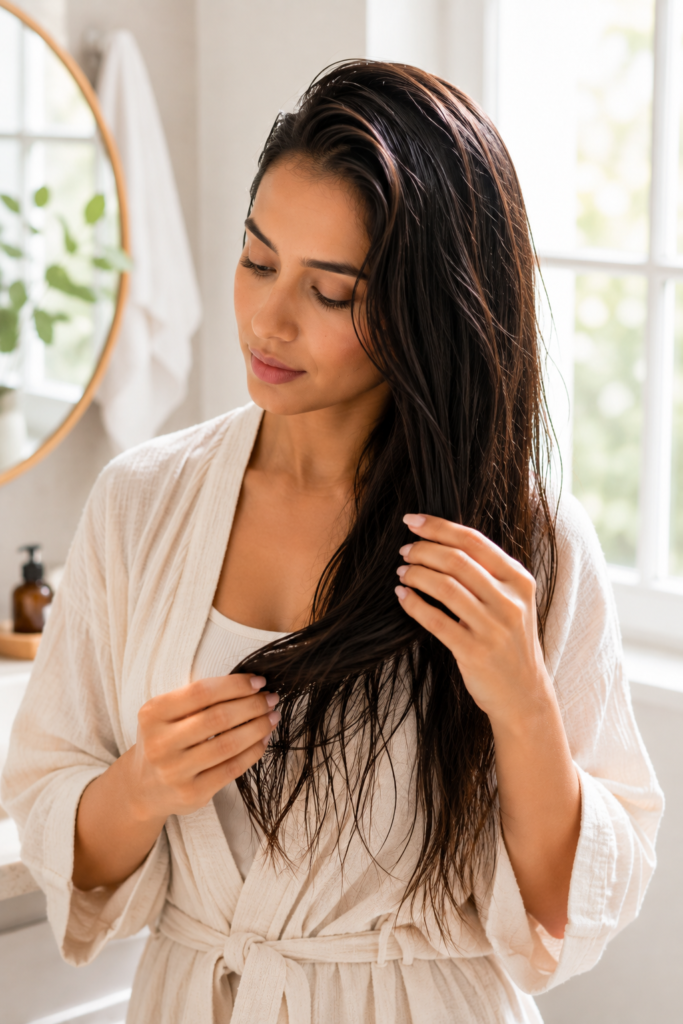
Protein-focused treatments can leave hair feeling firm rather than soft. A lightweight conditioner afterward can help restore moisture and softness, particularly if your hair tends to feel dry.
DIY Hair Protein Treatment at Home
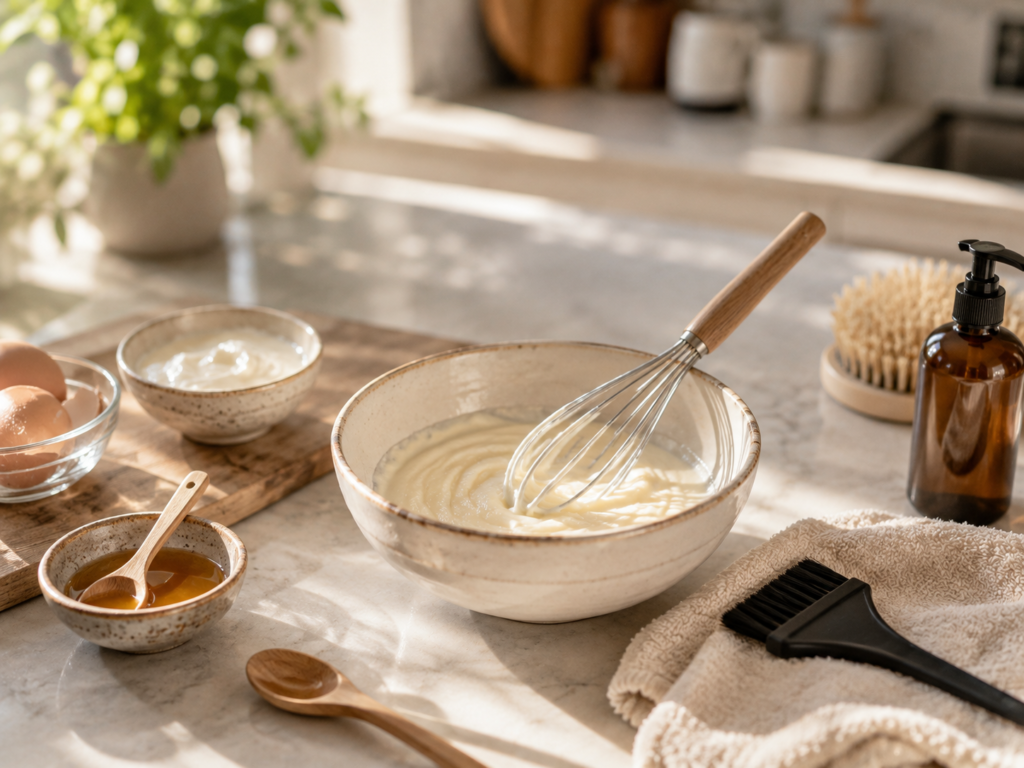
A homemade protein treatment for hair can be an accessible option, but it is worth approaching with realistic expectations. DIY recipes vary widely in strength and consistency, and not every kitchen ingredient is well suited for use on hair.
Ingredients such as eggs or yogurt are sometimes used in DIY hair protein treatment recipes because they contain protein. A few points to keep in mind if you choose this route:
- These ingredients are not equivalent to professionally formulated hair products, and results can vary significantly from person to person
- Thorough rinsing matters, particularly with egg-based mixtures, and cooler water helps prevent any cooking of the egg in your hair
- Anyone with food allergies or skin sensitivities should avoid ingredients they would react to elsewhere, and consider a patch test first
- DIY treatments work best as an occasional addition to your routine rather than a primary or frequent treatment
If you prefer more predictable results, a store-bought protein treatment designed and tested for hair use may be a more reliable choice.
How Long Should You Leave a Protein Treatment on Your Hair?
There is no single correct duration that applies to every protein treatment. Formulations differ significantly, and processing times that work for one product may be too long or too short for another.
The most reliable approach is to follow the instructions provided with your specific product or recipe. Leaving a treatment on longer than recommended does not necessarily lead to better results, and in some cases can make hair feel stiffer than intended.
How Often Should You Do a Protein Treatment?
How often you should use a protein treatment depends on several factors, including:
- The current condition of your hair
- The strength of the specific treatment or product
- How much chemical processing your hair has had
- How frequently you use heat styling tools
- How your hair responds after each treatment
Rather than following a fixed schedule, it helps to pay attention to how your hair feels afterward. Signs of overuse can include hair that feels unusually stiff, rough, dry, or brittle. If this happens, it is generally a good idea to pause protein treatments and focus on moisture and gentle care for a while.
Protein Treatment vs Deep Conditioning
These two treatments are often confused, but they serve different purposes. Here is a simple comparison:
| Feature | Protein Treatment | Deep Conditioner |
|---|---|---|
| Purpose | Temporarily strengthens and fills gaps in damaged strands | Adds moisture and softness to hair |
| Main focus | Structure and strength | Hydration and flexibility |
| Best suited for | Weak, overly elastic, or chemically damaged hair | Dry, dull, or rough-feeling hair |
| Typical result | Firmer, smoother-feeling strands | Softer, more flexible strands |
| How often | Depends on hair condition, generally less frequent | Can often be used more regularly |
| Can they be used together? | Yes, protein followed by conditioner is a common approach | Yes, works well as a follow-up step |
Understanding this difference can help you choose the right treatment based on what your hair actually needs at a given time, rather than assuming one product solves every concern.
Common Mistakes to Avoid
Even a simple treatment can go wrong with a few common missteps. Watch out for these:
- Using protein treatments too frequently, which can lead to stiff, brittle-feeling hair
- Leaving the treatment on longer than recommended, assuming it will work better
- Applying too much product, which can make rinsing difficult and weigh hair down
- Combing wet hair roughly, which increases the risk of breakage
- Ignoring the specific product instructions in favor of a generic routine
- Assuming all damaged hair needs protein, when some hair actually needs more moisture
- Skipping conditioner when hair feels like it needs softness afterward
- Using unsuitable DIY ingredients without considering allergies or sensitivities
- Expecting permanent repair from a single treatment or an occasional routine
What to Do After a Protein Treatment
Aftercare plays a role in how your hair feels in the days following treatment:
- Handle your hair gently, especially while it is still damp
- Use a suitable conditioner if your hair feels firm or stiff
- Avoid excessive heat styling right away if your hair feels fragile
- Detangle carefully with a wide-tooth comb rather than a fine one
- Continue a balanced hair-care routine that includes both moisture and strength
- Pay attention to how your hair responds before deciding when to repeat the treatment
What If Your Hair Feels Hard or Dry After a Protein Treatment?
Sometimes hair can feel stiff, dry, or straw-like after a protein treatment. This is often a sign of excess protein, or that the specific treatment was not well suited to your hair type.
If this happens, it generally helps to pause protein-based treatments and shift focus toward gentle, moisture-rich hair care for a while. Deep conditioning masks and leave-in moisturizers can help restore softness over time.
If the stiffness, dryness, or breakage continues despite adjusting your routine, it is a good idea to consult a qualified hair professional or dermatologist, particularly if you are also noticing scalp irritation, unusual hair loss, or persistent damage.
Can You Use a Protein Treatment on Colored or Bleached Hair?
Chemically processed hair, including colored, highlighted, or bleached hair, tends to be more porous and fragile than untreated hair. This is because chemical processing can strip away some of the protective outer layer of the strand.
A suitable protein treatment can sometimes improve the manageability and feel of chemically treated hair, making it easier to style and less prone to snapping. However, product choice and frequency matter here more than usual, since chemically treated hair can be more sensitive to overuse. It’s worth noting that a protein treatment does not reverse or undo chemical damage. It simply changes how the existing damaged hair looks and feels for a period of time.
Can a Protein Treatment Make Hair Grow Faster?
No, a protein treatment does not directly make hair grow faster. Hair growth happens at the scalp and follicle level, which a topical treatment applied to the hair strand does not influence.
What a protein treatment can potentially do is improve the condition and manageability of already-grown hair, which may help reduce some types of breakage. Less breakage can help hair retain length over time, but this is different from actually speeding up the growth process itself.
Frequently Asked Questions
What is the best protein treatment for hair at home? There is no single “best” option, since it depends on your hair type and level of damage. Store-bought treatments formulated for hair tend to offer more predictable results than DIY recipes, though both can work depending on your needs.
How do I do a protein treatment at home? Start with clean, damp hair, apply the treatment from mid-lengths to ends, comb through gently, and leave it on for the time specified by your product’s instructions. Rinse thoroughly and follow with conditioner if your hair feels stiff afterward.
How often should I use a protein treatment? This depends on your hair’s condition and how it responds. Rather than a fixed schedule, watch for signs of overuse, such as stiffness or brittleness, and space out treatments accordingly.
Can I make a protein treatment with ingredients at home? Yes, though DIY recipes vary in strength and are not as predictable as professionally formulated products. Ingredients like eggs or yogurt are sometimes used, but should be rinsed thoroughly and avoided if you have relevant allergies.
Is protein treatment good for damaged hair? It can help improve the feel and manageability of certain types of damaged hair, particularly hair that is weak, overly elastic, or chemically processed. It is not suitable for all hair concerns and works best as part of a balanced routine.
Can protein treatment make hair dry? Yes, overusing protein treatments or using one that is too strong for your hair type can leave hair feeling dry, stiff, or brittle. Following up with a moisturizing conditioner can help balance this out.
Should I use conditioner after a protein treatment? In many cases, yes. Protein treatments can leave hair feeling firm, so a lightweight conditioner afterward often helps restore softness, especially if your hair tends to feel dry.
Final Thoughts
A hair protein treatment at home can be a genuinely useful step for hair that feels weak, overly elastic, or worn down from color and heat styling. The key is understanding that it is a cosmetic treatment, not a cure, and that more protein is not always better.
Pay attention to how your hair responds, follow product instructions closely, and balance protein with moisture as needed. With a thoughtful approach, this simple at-home step can genuinely support smoother, stronger-feeling hair between salon visits.