
21 Nail Art Supplies Every Beauty Girl Should Own
Are you tired of endlessly scrolling through stunning manicures and wondering how to create them yourself? The secret to achieving those viral, salon-quality nails at home comes down to having the right tools in your kit. Building your own collection of nail art supplies is easier and more affordable than you might think.
Right now, the DIY manicure trend is absolutely exploding. From minimalist micro-french tips to mesmerizing aura nails, everyone is taking their nail game into their own hands. It is the perfect way to express your personal style while saving major money at the salon.
Whether you are a complete beginner or an aspiring at-home nail tech, having the proper gear changes everything. Get ready to transform your nails, because we are diving into the ultimate list of 21 nail art supplies every beauty girl should own!
Why You’ll Love These Ideas
- Elevate Your Style: Create custom, eye-catching manicures that perfectly match your daily outfits and aesthetic.
- Stay On-Trend: Effortlessly recreate the viral nail looks you see dominating your social media feeds.
- Seasonal Magic: Easily swap between moody winter chromes, bright summer jellies, and spooky autumn designs.
- Ultimate Pinterest Appeal: Your hands will always be ready for an aesthetic, coffee-cup-holding photo shoot!
1. Essential Dual-Ended Dotting Tools
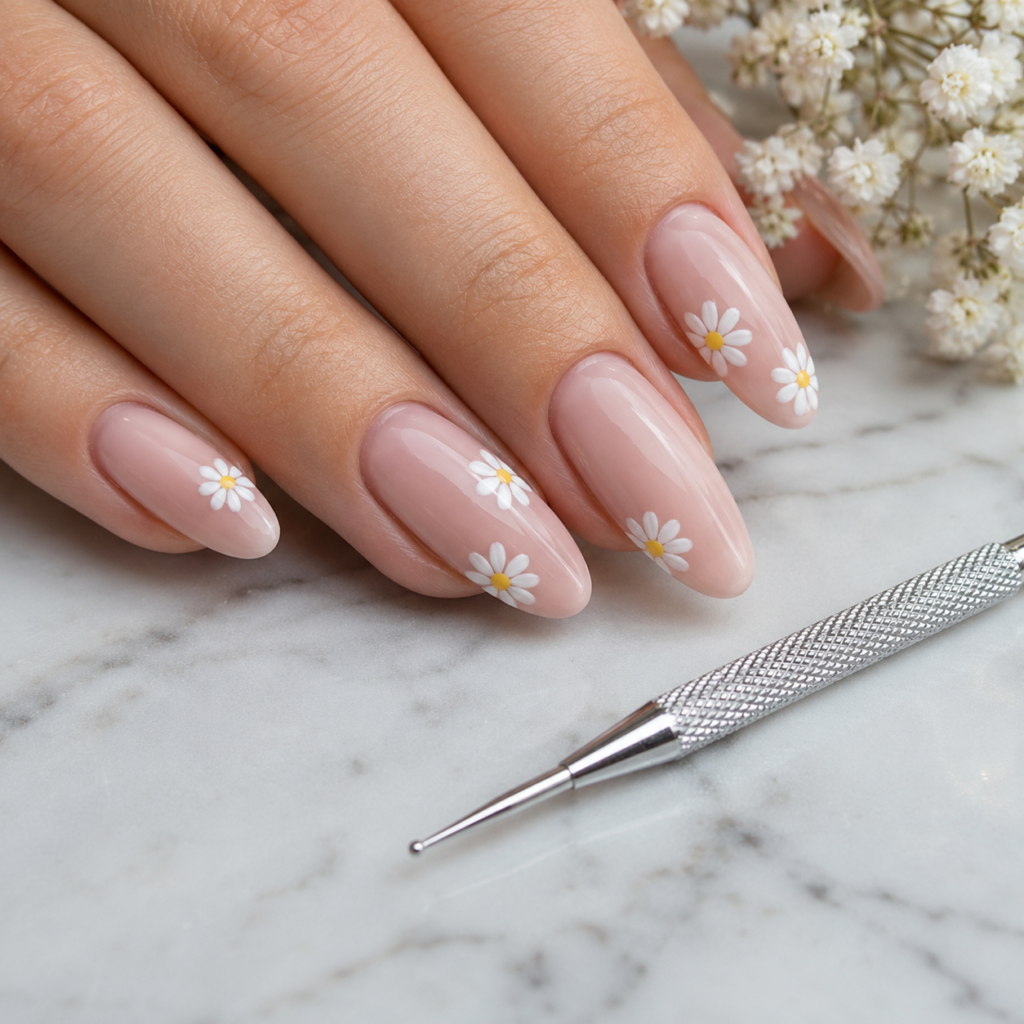
Nothing says Pinterest-perfect like a flawless daisy manicure or trendy leopard print. These handy metal wands feature tiny spherical tips on both ends, making perfect circles effortless.
They work beautifully because they give you ultimate control over polish placement. Try using them with pastel pinks and soft whites for a sweet, spring-ready floral look.
Dotting tools are going viral right now for minimalist dot manicures and retro 90s designs. It is a highly searched DIY nail tool for absolute beginners looking for quick results.
Pro Tip: Dip your tool into a small puddle of polish on a palette rather than straight into the bottle to prevent messy blobs.
[ 18 Gorgeous Rainbow Eye Makeup Ideas for 2026]
2. Ultra-Fine Liner Brushes

If you want crisp, clean lines, an ultra-fine detail brush is your best friend. These brushes have long, incredibly thin bristles designed specifically for delicate line work.
They are the absolute secret behind the viral micro-French manicure trend. Pair a sharp white tip with a sheer, milky pink base for a sophisticated, old-money vibe.
Liner brushes are essential for the highly-pinned “coquette aesthetic” nails featuring tiny hand-drawn bows. They make intricate, delicate designs totally achievable at home.
Pro Tip: Clean your brush with acetone immediately after use to keep the bristles sharp and prevent clumping.
[ View Best Offers ]
3. Holographic Striping Tape
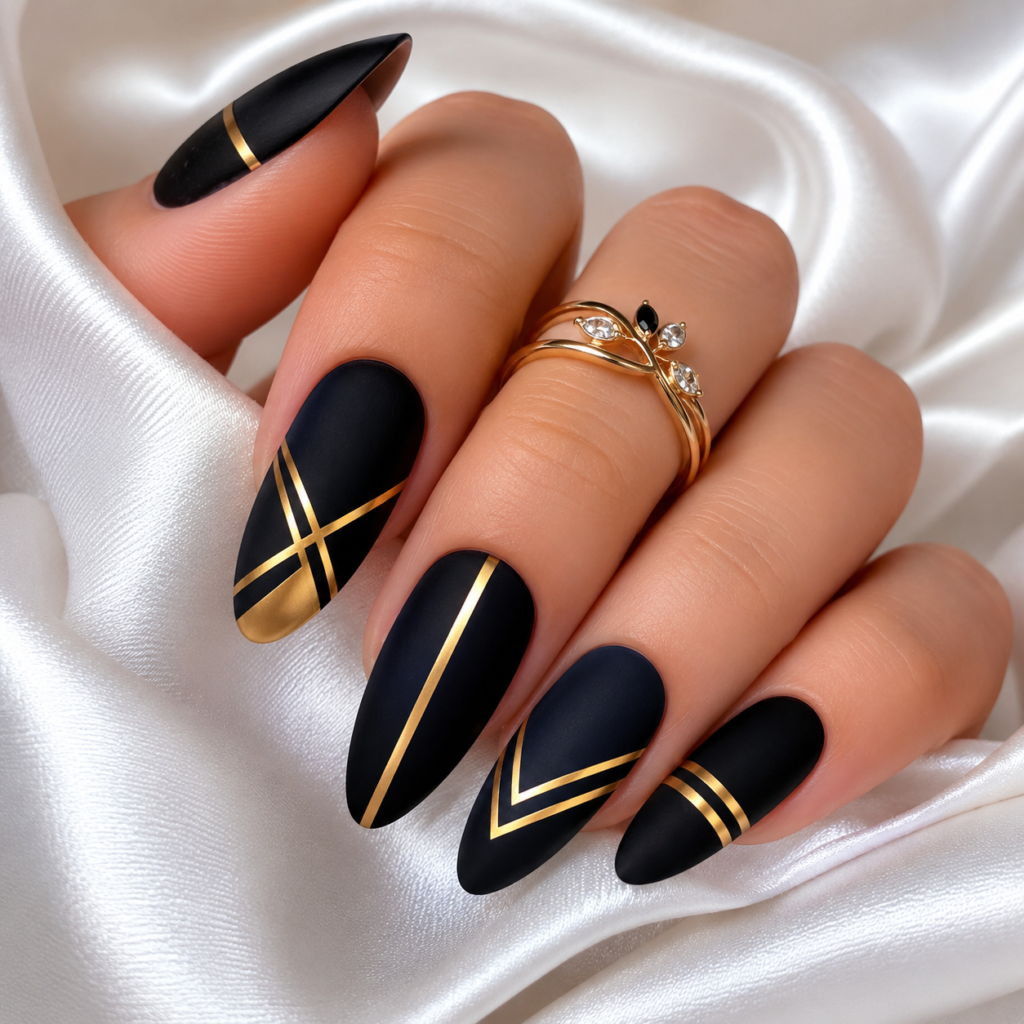
Striping tape looks like tiny rolls of metallic ribbon and brings instant glamour to any manicure. It creates razor-sharp geometric lines that are nearly impossible to paint by hand.
It works great as a permanent design element or as a stencil that you peel away. Try laying gold tape over a deep emerald green polish for a striking, modern look.
Geometric and abstract line art is a massive search term on Pinterest right now. Striping tape offers a beginner-friendly way to get that exact futuristic, clean aesthetic.
Pro Tip: Always leave a tiny gap between the end of the tape and the edge of your nail so it doesn’t peel up.
[ 18 Gorgeous Rainbow Eye Makeup Ideas for 2026 ]
Suggested Image Generator Prompt: Elegant almond nails painted matte black with sharp gold metallic striping tape geometric designs, resting on white silk.
4. Clear Silicone Nail Stampers
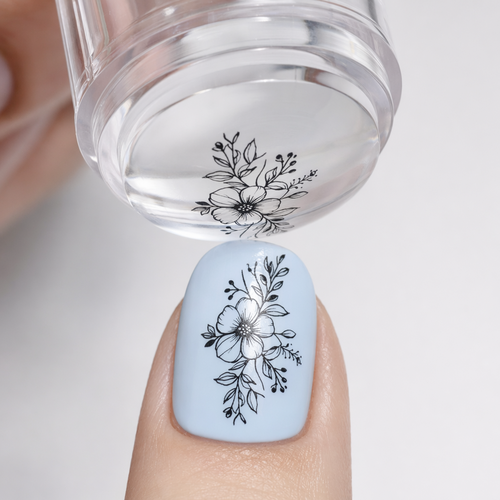
Nail stamping kits use etched metal plates and a squishy silicone pad to transfer perfect images onto your nails. The clear silicone lets you see exactly where the design will land.
This works like absolute magic for complex patterns like lace, typography, or intricate florals. Use a highly pigmented black stamping polish over a bright neon base for maximum contrast.
Stamping is a cult-favorite technique on Pinterest for creating uniform designs on every single finger. It gives you professional-level nail art in literal seconds.
Pro Tip: Gently roll the stamper over your nail from side to side rather than pressing straight down to avoid smudging.
[ View Best Offers ]
5. 3D Nail Gems and Rhinestones
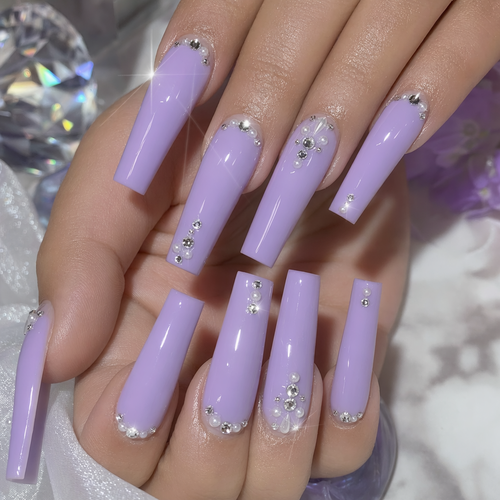
The Y2K revival is here, and 3D nail art is leading the charge. A wheel of assorted gems, pearls, and crystals instantly elevates a basic paint job into a statement accessory.
Gems work because they catch the light and add tactile interest to your manicure. Combine tiny white pearls with a soft lilac polish for a dreamy, fairy-core aesthetic.
Search volume for “rhinestone nails” and “3D nail art” is peaking right now. They are the ultimate way to make your nails look high-end and luxuriously customized.
Pro Tip: Use a wax pencil to easily pick up and place the tiny gems onto your wet top coat or nail glue.
[ 18 Gorgeous Rainbow Eye Makeup Ideas for 2026 ]
6. Luminous Pearl Chrome Powder
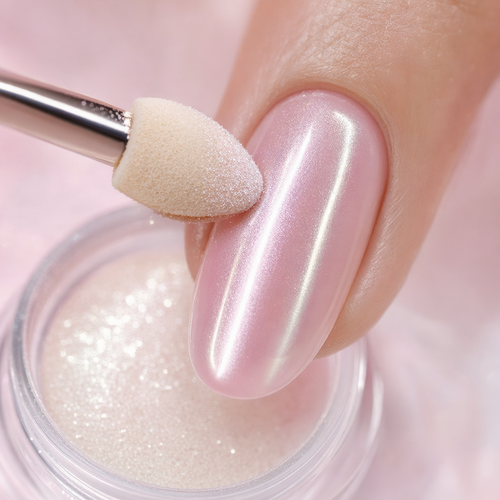
Hailey Bieber broke the internet with her “glazed donut” nails, and chrome powder is the magic ingredient. This ultra-fine dust rubs onto a cured top coat to create a metallic, mirror-like finish.
It works beautifully by transforming any base color into a glowing, iridescent masterpiece. Rub white pearl chrome over a sheer nude for that famous milky, glazed look.
Chrome nails are an absolute staple on Pinterest, transitioning seamlessly through every season. It is a mesmerizing, highly satisfying trend that always looks expensive.
Pro Tip: You must use a “no-wipe” gel top coat for the powder to adhere smoothly and create that perfect mirror shine.
[ View Best Offers ]
Suggested Image Generator Prompt: An applicator sponge rubbing glowing pearl chrome powder onto a sheer pink gel nail, creating a mirror-like glazed finish.
7. Flawless Matte Top Coat
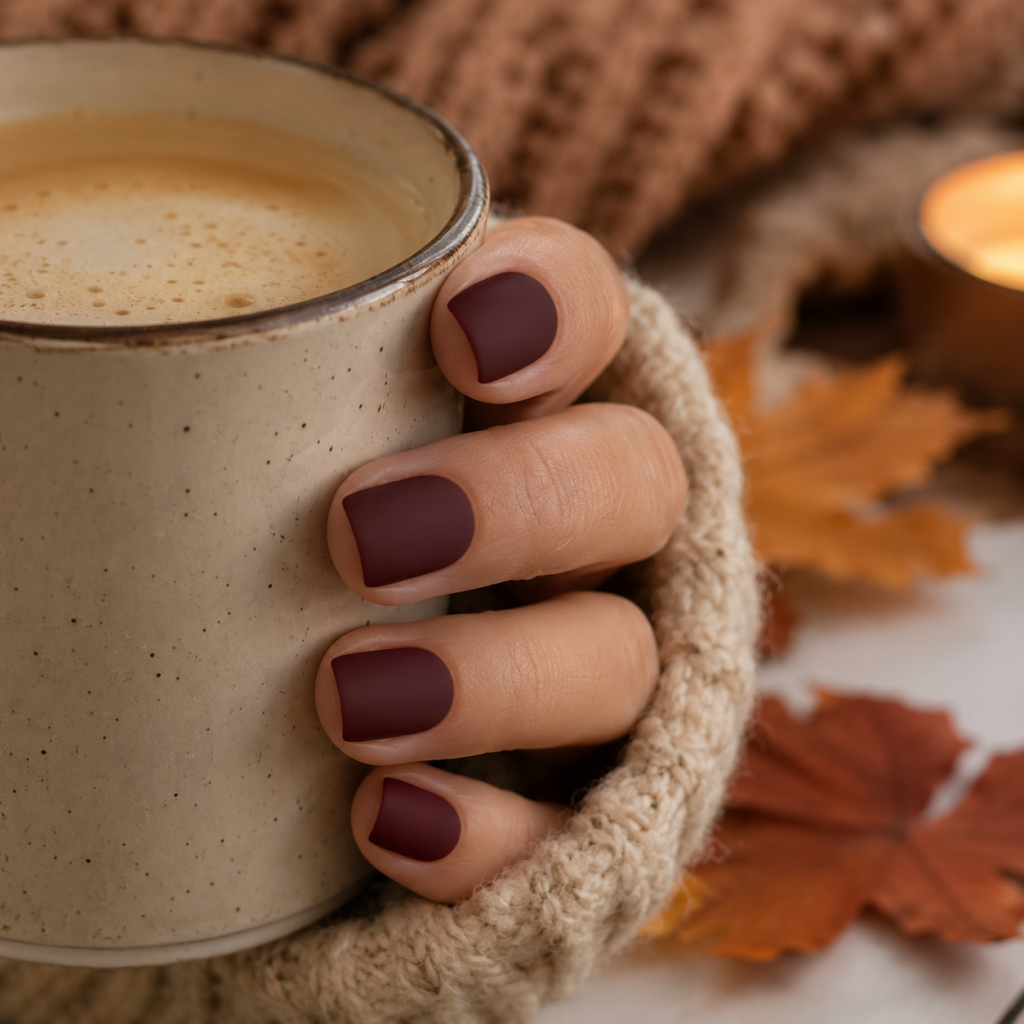
A matte top coat takes away the shine, leaving a velvety, smooth finish that completely changes the vibe of your polish. It is a must-have for adding instant edge to your look.
It works wonderfully for creating contrast when used alongside glossy polishes in the same manicure. Try a matte burgundy finish for the ultimate cozy, autumnal “sweater weather” nail.
Matte nails frequently trend on Pinterest during the fall and winter months. It is an effortless way to double your polish collection, as it changes how every color looks.
Pro Tip: Make sure your color coats are completely smooth before applying matte top coat, as it tends to highlight any bumps.
[ View Best Offers ]
8. Magical Blooming Gel
Blooming gel is a specialized clear polish that causes any color applied on top of it to spread and blur. It is the absolute easiest way to create watercolor, marble, or aura effects.
It works by reacting with wet polish, doing all the blending work for you naturally. Drop bright pink circles into wet blooming gel over a peach base for a viral aura nail look.
Aura nails are one of the most saved nail art styles on Pinterest this year. Blooming gel makes this mystical, gradient trend foolproof for complete beginners.
Pro Tip: Work on one nail at a time, curing immediately once the design spreads to your desired shape so it doesn’t blur too much.
[ View Best Offers ]
9. Magnetic Cat-Eye Polish and Wand

Magnetic polish contains tiny iron particles that shift and dance when you hold a magnet over them. It creates a stunning, velvet-like illusion that looks like shifting crushed velvet.
This polish gives an incredible 3D illusion of depth and movement on the nail bed. A deep sapphire blue cat-eye polish looks like a sparkling, starry galaxy on your hands.
Velvet nails are a massive holiday trend on Pinterest, perfect for festive parties. The mesmerizing, optical-illusion finish always stops the scroll.
Pro Tip: Hold the magnet as close to the wet polish as possible for 10-15 seconds to get the sharpest, brightest effect.
[ View Best Offers ]
10. Angled Cleanup Brush
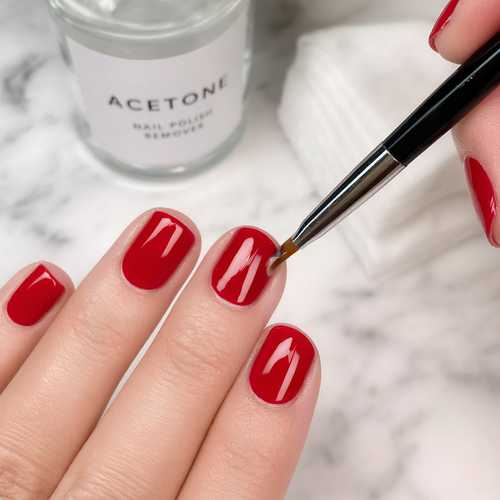
No matter how neat you paint, mistakes happen, which is why an angled cleanup brush is crucial. Dipped in acetone, it acts like an eraser for the skin around your nails.
It creates that sharp, salon-quality cuticle line that makes a manicure look professionally done. Pair clean, sharp edges with a classic cherry red polish for a timeless, flawless finish.
Pinterest users love clean, perfectly manicured hands, and this tool is the secret to getting them. It instantly upgrades the look of even the cheapest nail polish.
Pro Tip: Use 100% pure acetone with your cleanup brush; it melts the polish away instantly without endless scrubbing.
[ View Best Offers ]
11. Peel-Off Base Coat
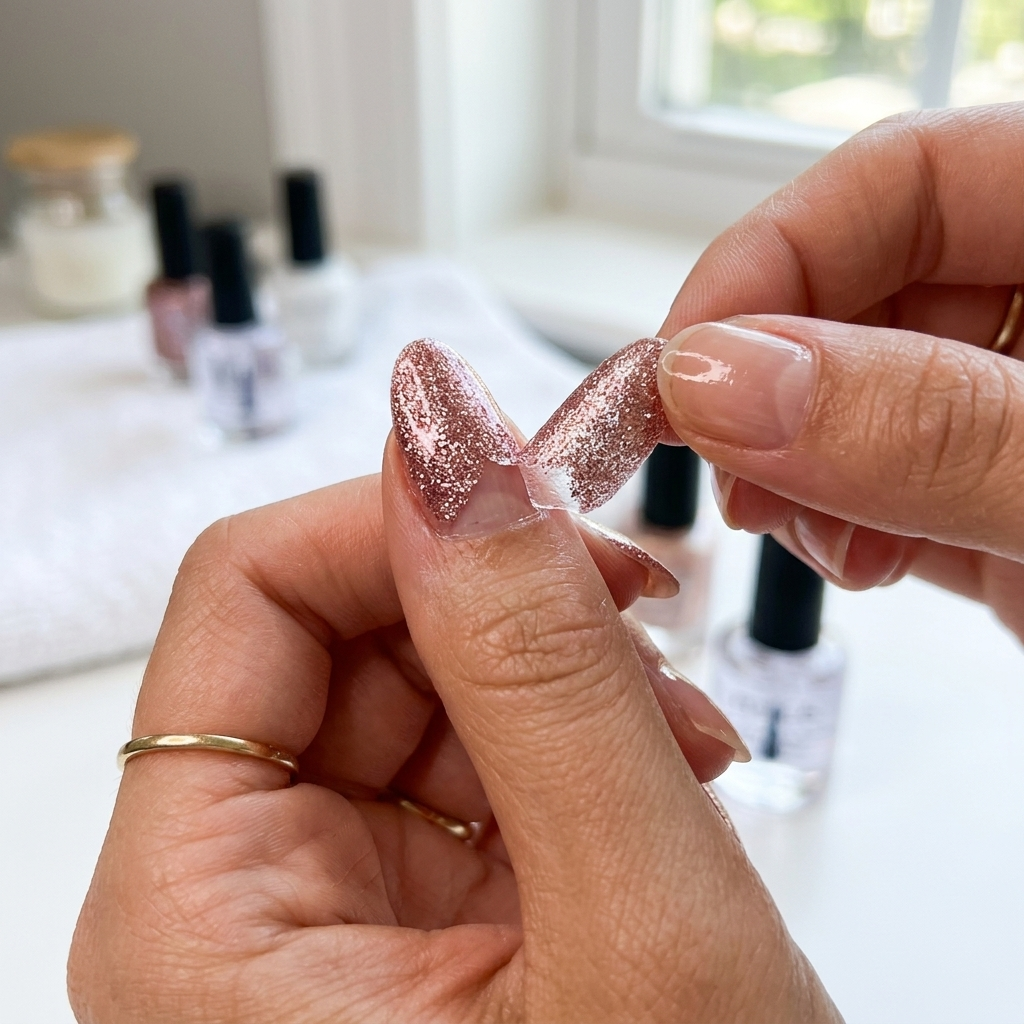
If you love glitter polish but hate the removal process, a peel-off base coat will change your life. It allows you to simply pop off your entire manicure when you want a change.
It is perfect for content creators or anyone who loves changing their nail art every few days. Use it under a dense, chunky holographic glitter for zero-stress removal.
Glitter nails are always popular, but the easy-removal hack is highly saved on Pinterest. It encourages beauty lovers to experiment boldly without the commitment.
Pro Tip: Avoid painting the peel-off base all the way to the edges of your nail to help the manicure last a few extra days.
[ View Best Offers ]
12. Sheer Jelly Polishes
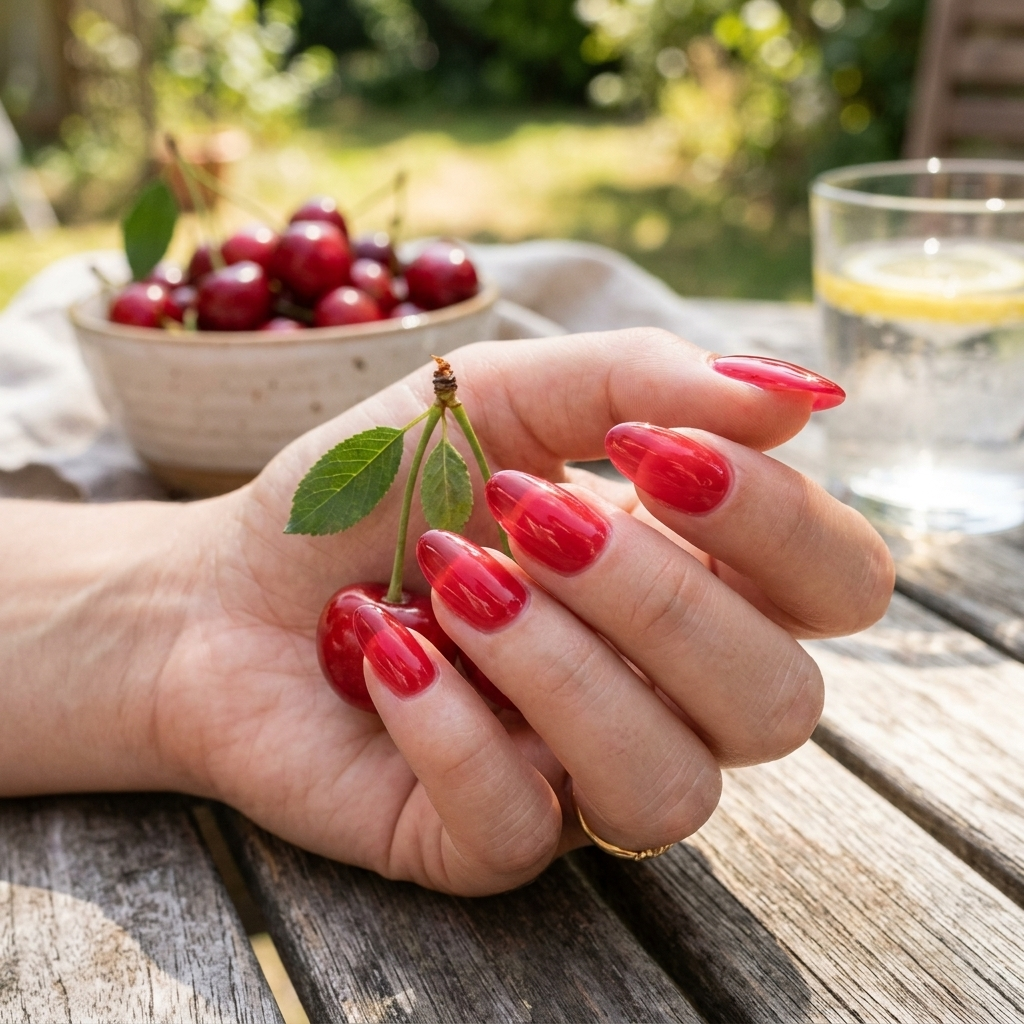
Jelly polish is semi-transparent, creating a squishy, glassy finish that looks good enough to eat. It is the backbone of the incredibly popular Korean “syrup nail” trend.
It works by letting your natural nail line peek through, giving a fresh, youthful glow. Layer a sheer cherry jelly polish for a juicy, fruit-inspired summer look.
Jelly nails provide a clean, minimalist aesthetic that dominates Pinterest in the spring and summer. They are incredibly forgiving and easy to apply smoothly.
Pro Tip: Layer jelly polishes over chunky glitter to create a stunning “pond manicure” where the glitter looks suspended in glass.
13. High-Quality UV/LED Lamp
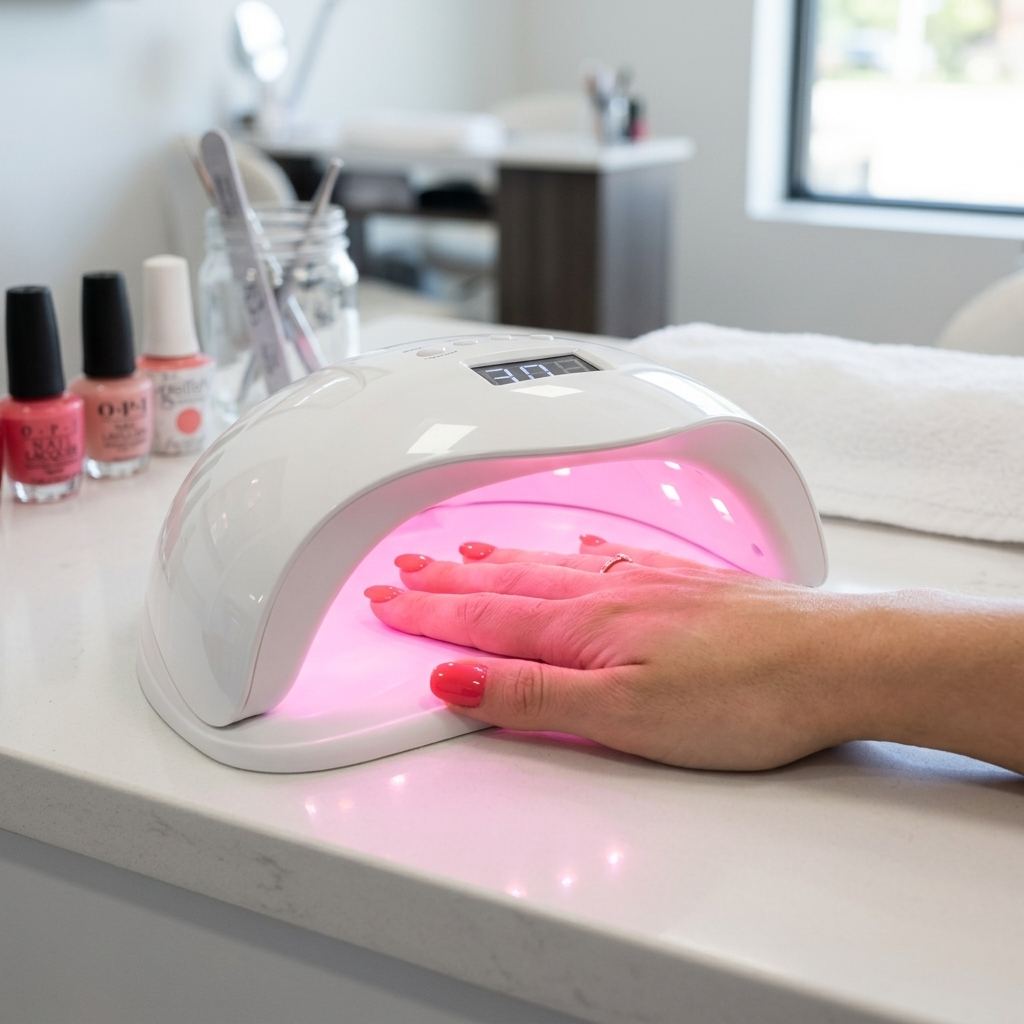
If you want to dive into the world of gel polish, a reliable UV/LED curing lamp is non-negotiable. It uses light technology to harden gel products in just 30 to 60 seconds.
A good lamp ensures your manicure won’t chip for weeks, giving you durability that regular polish can’t match. Rock a long-lasting pastel yellow gel mani for your upcoming beach vacation.
Gel manicures are the standard for Pinterest-worthy DIY nails because they look incredibly plump and glossy. Investing in a good lamp is the first step to professional at-home nails.
Pro Tip: Always check the wattage of your lamp; aim for at least 48W to ensure your gel cures safely and completely.
[ View Best Offers ]
14. Builder Gel in a Bottle (BIAB)
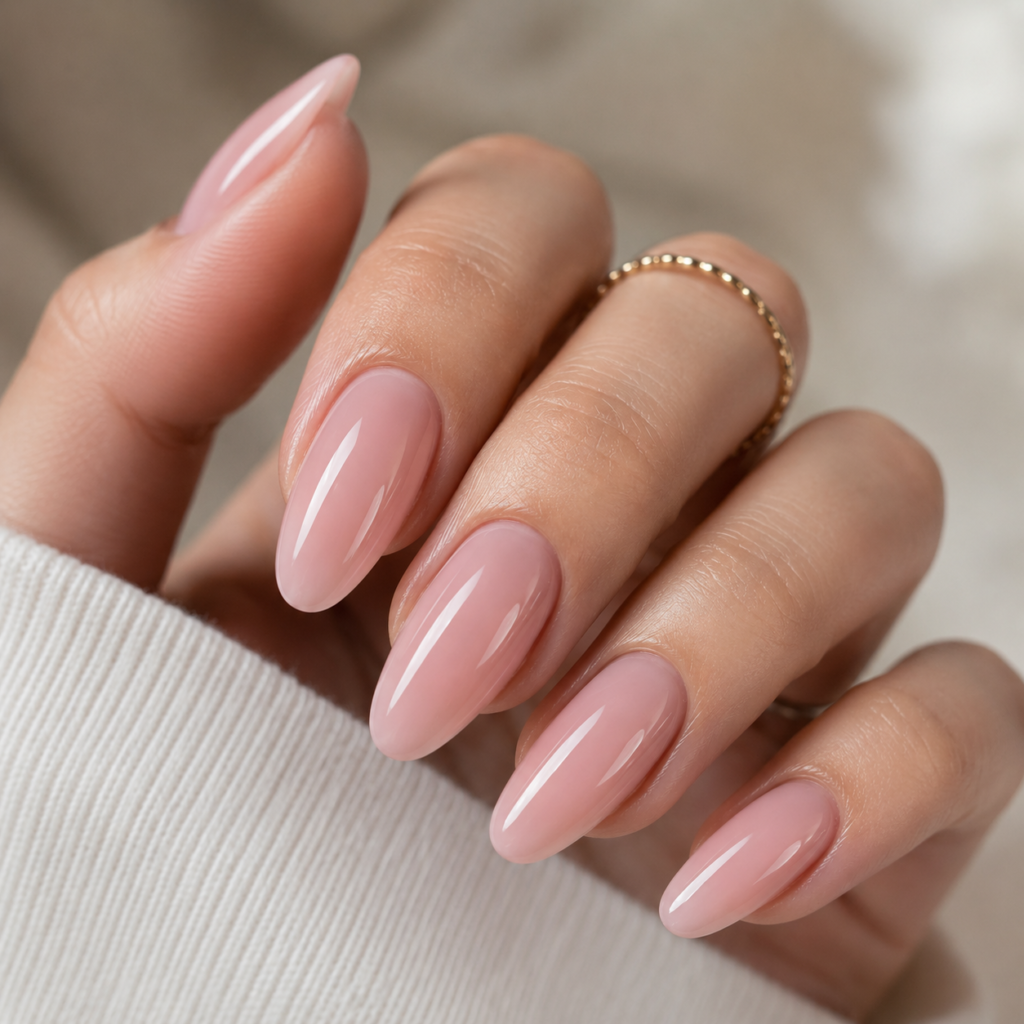
Builder gel provides a thick, protective overlay that strengthens natural nails and helps them grow long. It is much thicker than regular gel polish and prevents your nails from snapping.
It is brilliant for weak, brittle nails, acting like a sturdy shield against daily wear and tear. Wear a natural, milky-pink builder gel on its own for the ultimate clean-girl aesthetic.
“BIAB nails” is one of the fastest-growing search terms in the nail care space. People are obsessed with growing their natural nails instead of relying on acrylic extensions.
Pro Tip: Turn your hand upside down for a few seconds before curing; gravity will help the builder gel form a perfectly smooth apex.
[ View Best Offers ]
15. Glass Nail File
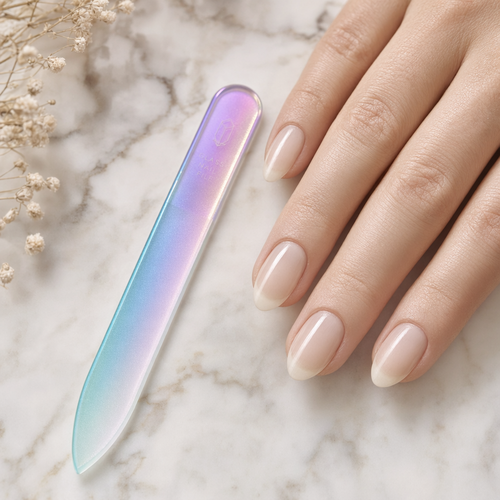
Ditch the cheap emery boards; a crystal glass file is the best tool for shaping natural nails safely. The grit is etched directly into the glass, meaning it never wears down.
It works by sealing the keratin layers at the edge of the nail, preventing peeling and splitting. Shape your nails into an elegant almond or crisp square to flatter your hands.
Healthy nail care routines are incredibly popular on Pinterest right now. A glass file is an aesthetic, reusable tool that promotes strong, beautiful natural nails.
Pro Tip: You can file back and forth with a glass file without causing damage, unlike traditional cardboard files!
16. Nourishing Cuticle Oil

Hydration is the secret to a manicure that looks expensive, and cuticle oil is the holy grail. Packed with vitamins, it moisturizes the skin around the nail and keeps the polish flexible.
It immediately transforms dry, crusty cuticles into plump, photo-ready skin. Choose an oil with jojoba and vitamin E, and apply it over any polish color for an instant glow-up.
Every viral Pinterest nail photo features impeccably hydrated cuticles. Applying oil is the final, essential step to getting that flawless, salon-fresh aesthetic.
Pro Tip: Keep a pen-style cuticle oil in your purse or car so you remember to apply it multiple times a day.
Suggested Image Generator Prompt: A close-up of a dropper applying golden nourishing cuticle oil to the base of a freshly manicured nail.
17. Lint-Free Wipes
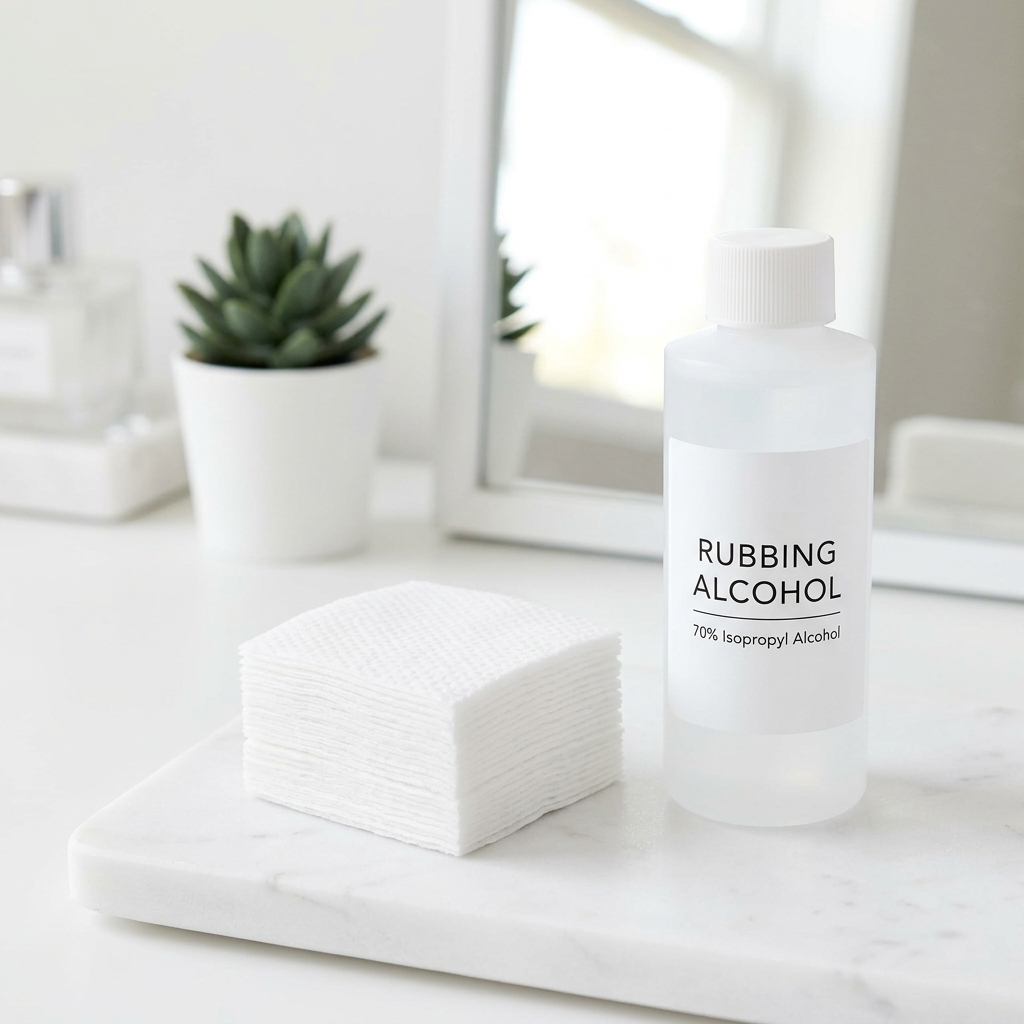
Cotton balls leave annoying, fuzzy hairs stuck in your wet polish, ruining your hard work. Lint-free wipes are tightly woven pads designed specifically for nail prep and cleanup.
They are absolutely essential for scrubbing the nail plate with alcohol to remove natural oils before painting. This simple step makes your polish adhere perfectly and last twice as long.
Long-lasting DIY manicures require proper prep, a widely shared tip across Pinterest tutorials. These wipes ensure your canvas is perfectly clean and fuzz-free.
Pro Tip: Use a lint-free wipe soaked in rubbing alcohol to remove the sticky inhibition layer from your gel top coat.
18. Water-Based Acrylic Paint Set
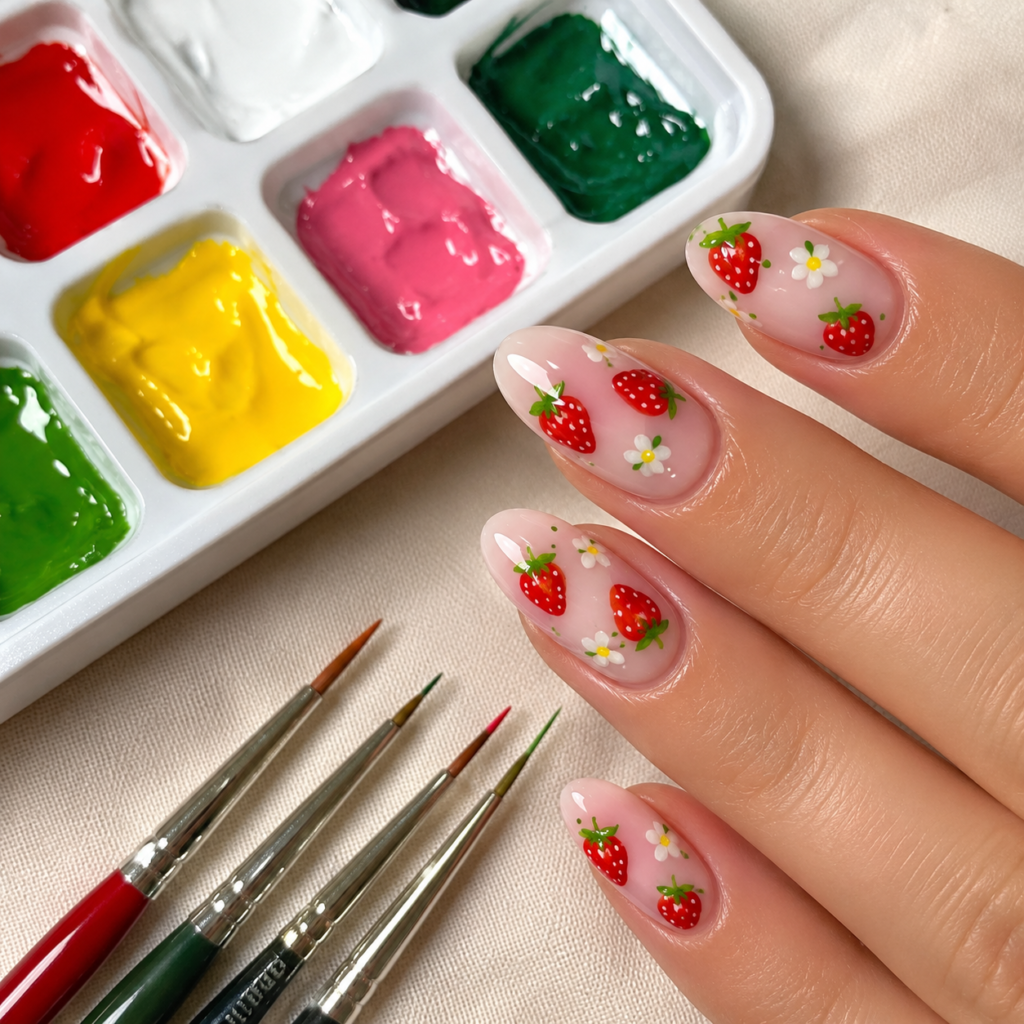
Did you know you don’t have to use nail polish for nail art? A set of highly pigmented acrylic paints is a game-changer for hand-drawn designs.
Acrylic paint doesn’t dry as fast as polish, giving you plenty of time to fix mistakes with a little water. Use vibrant primary colors to paint cute fruit or character designs over a nude base.
Hand-painted, intricate nail art is a huge trend that gets heavily pinned. Acrylics make these complex, miniature masterpieces much easier for hobbyists to achieve.
Pro face Tip: Once your acrylic design is completely dry, seal it securely with a generous layer of glossy top coat.
19. Ombre Sponge Applicators
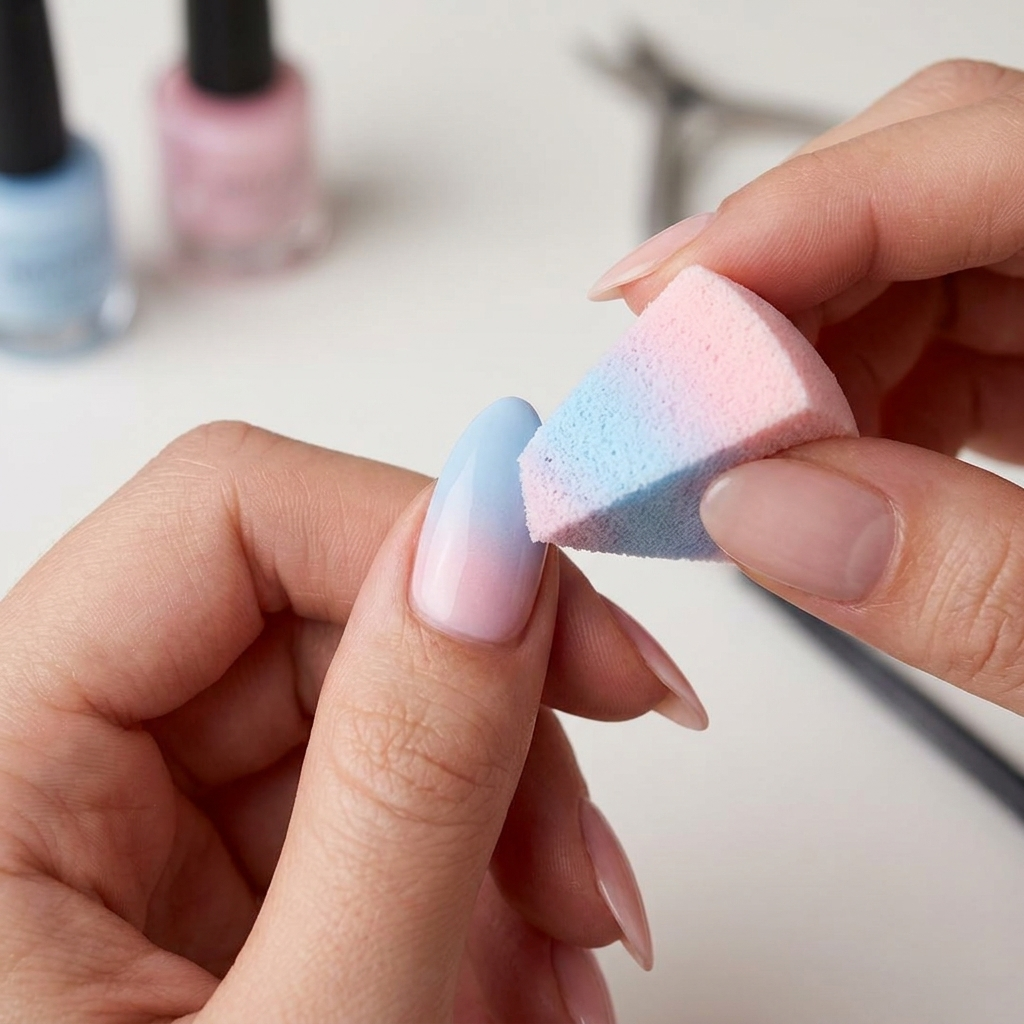
Creating a smooth, blended gradient on your nails is effortless with the right makeup sponge. Dense latex-free sponges blend wet polish seamlessly across the nail.
They work by absorbing the excess wet polish while leaving the pigment behind in a soft fade. Blend baby blue into bright pink for a gorgeous, dreamy cotton-candy ombre effect.
Ombre nails are a timeless, elegant Pinterest favorite that works for weddings, holidays, or everyday wear. Sponging is the most budget-friendly way to get this look.
Pro Tip: Apply a liquid latex barrier around your cuticles before sponging to make cleanup peel away in seconds.
20. Solid Nail Glue Gel
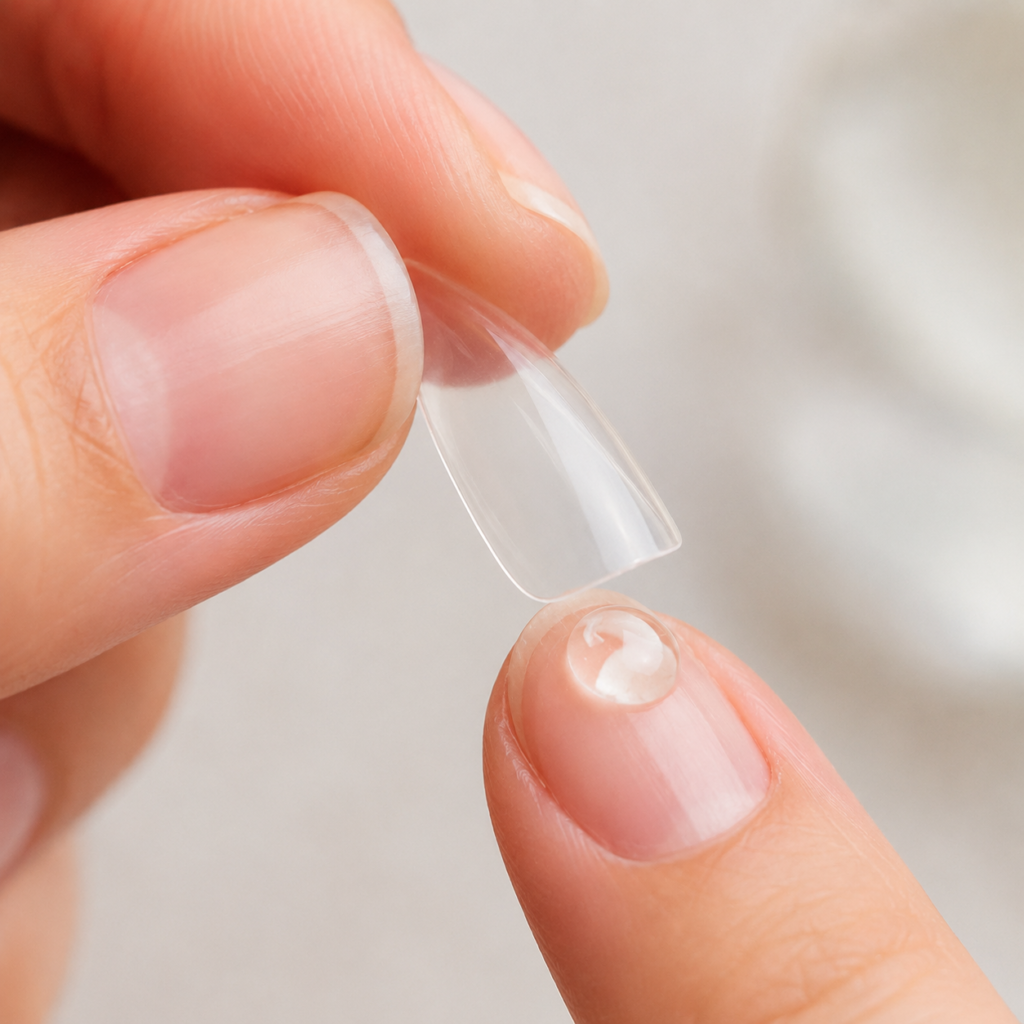
Press-on nails have evolved, and solid nail glue gel is the new way to make them last for weeks. It has a gummy, putty-like consistency that you cure under a lamp.
Because it is solid, it doesn’t seep out the sides and flood your cuticles like liquid glue. Use it to adhere trendy, translucent jelly press-on nails for a flawless, mess-free application.
Luxury press-on nails are having a massive moment on Pinterest and TikTok. Solid glue gel makes them look and feel exactly like a salon acrylic set.
Pro Tip: Etch the inside of the press-on nail lightly with a file before applying the glue gel for maximum adhesion.
21. Nail Art Mixing Palette
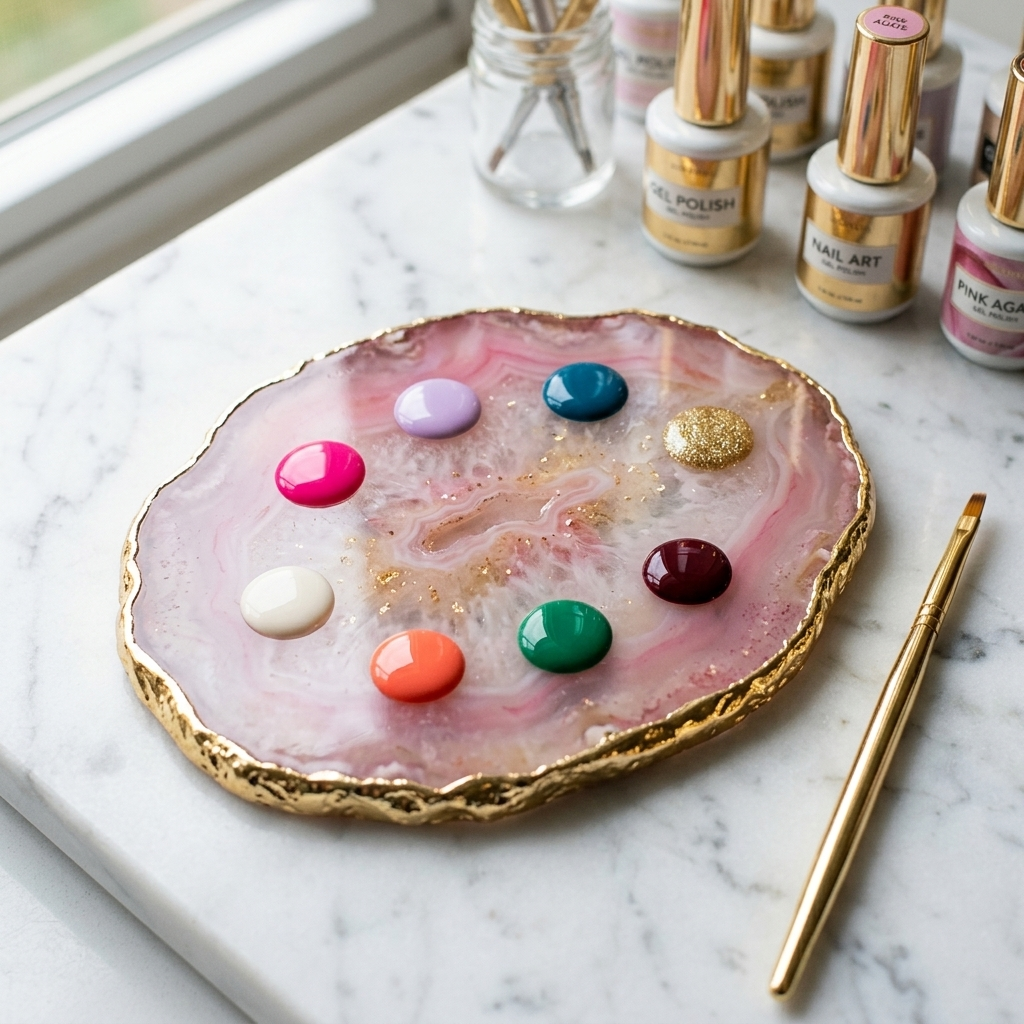
When you start mixing custom polish colors or managing wet gels, a resin or metal mixing palette is essential. It provides a clean, smooth surface to work from.
It allows you to blend specific shades, dilute colors, or hold small puddles of polish for your dotting tools. Mix a drop of white into a neon orange to create a custom pastel peach.
Aesthetic resin palettes bordered in gold are a beautiful prop frequently seen in Pinterest flat-lays. They make you feel like a true nail art professional.
Pro Tip: If using gel polish, you can leave your mixed colors on the palette out of direct sunlight to use again the next day!
Ready to Create Your Dream Manicure?
Building your personal nail art kit is an exciting journey that opens up endless creative possibilities. By investing in these 21 nail art supplies, you will be fully equipped to tackle any viral trend, from sleek glazed chromes to intricate hand-painted florals. Remember, practice makes perfect, and half the fun is experimenting with different colors and techniques!
If you loved this guide, be sure to pin this post to your favorite Pinterest Nail Art Board so you can easily reference it later! Keep exploring, stay inspired, and get ready to show off your stunning DIY manicures to the world. Happy painting!